Kubernetes Knowledge
Building containerized applications opens doors to efficiency and scalability, especially for developers looking to streamline their workflows. Kubernetes, a game-changer in container orchestration, makes it easier for developers to manage these applications.
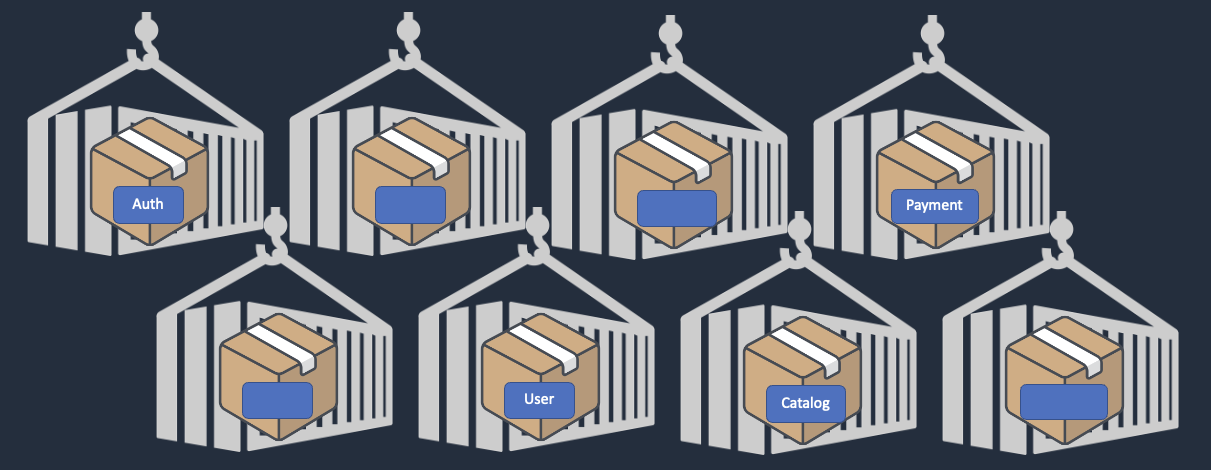
Kubernetes is an open-source platform designed to automate deploying, scaling, and operating application containers. Named as container orchestrator, cause it simplifies the developer’s task of managing containerized applications. It solves many problems teams face during managment of containerized applications.
Core Kubernetes components
Below are some core components of Kubernetes.
-
Pods: The smallest deployable units created and managed by Kubernetes. A Pod represents a single instance of a running process in your cluster and can contain one or more containers.
-
Nodes: These are worker machines in Kubernetes, which can be either a physical or virtual machine, depending on the cluster. Each node runs Pods and is managed by the master.
-
Deployments: They describe the desired state of your application, like which images to use and the number of Pod replicas. Deployments update your application to the desired state at a controlled rate.
-
Services: They are an abstract way to expose an application running on a set of Pods as a network service. This decouples workloads from specific Pods, providing a consistent way to access the application.
-
Ingress: This manages external access to the services in a cluster, typically HTTP. Ingress can provide load balancing, SSL termination, and name-based virtual hosting.
-
Namespaces: Namespaces help split a Kubernetes cluster into sub-clusters, making it possible to divide resources between different projects or teams.
-
Labels and Selectors: They are powerful tools that allow you to organize and select subsets of objects, like Pods, based on key-value pairs for more precise resource management.
Helm Knowledge
Helm is a tool that streamlines the installation and management of Kubernetes applications. It provides a way to package, distribute, and deploy applications and their dependencies as reusable units called “charts.” A Helm chart is a collection of YAML files defining the necessary Kubernetes resources, such as deployments, services, and config maps, required to deploy an application
Key concept
Helm essential concepts:
-
Chart: A Helm chart is a packaged unit containing all the necessary files and configurations to deploy a Kubernetes application.
-
Repository: A repository is a collection of Helm charts stored in a remote location. It acts as a central hub for sharing and distributing charts.
-
Release: A release is an instance of a chart deployed into a Kubernetes cluster. Each release has a unique name and can have specific configurations and overrides.
-
Values: Values are user-defined configuration options that can be customized during deployment. They allow flexibility in parameterizing the chart’s templates.
-
Template: A template is a YAML file within a chart that uses Go’s templating language to generate Kubernetes manifests dynamically. Templates can reference values and be customized during the deployment.

Getting Started Deployment in Kubernetes using Helm chart
Prerequisite
-
Kubernetes Cluster: Ensure customers have kubernetes cluster up and running, either locally using a tool like Minikube or on a cloud provider such as Google Kubernetes Engine (GKE), Amazon Elastic Kubernetes Service (EKS), or Microsoft Azure Kubernetes Service (AKS).
-
Kubectl: Install and configure
kubectl, the Kubernetes command-line tool, to interact with your Kubernetes cluster. Please refer to this official Kubernetes documentation for installing kubectl https://kubernetes.io/docs/tasks/tools/
Installation Steps:
1. Download Helm:
-
Visit the official Helm GitHub repository release page at https://github.com/helm/helm/releases .
-
Download the appropriate binary package for your operating system. Helm provides precompiled binaries for various platforms, including macOS, Linux, and Windows.
2. Install Helm:
-
Linux or macOS:
-
Extract the downloaded Helm binary archive.
-
Move the
helmbinary to a directory in your system'sPATH, such as/usr/local/bin:
$ sudo mv <path_to_extracted_helm_binary>/helm /usr/local/bin/helm
-
Windows:
-
Extract the downloaded Helm binary archive.
-
Add the path to the extracted
helmbinary to the system'sPATHenvironment variable.
3. Initialize Helm:
-
Open a terminal or command prompt.
-
Run the following command to initialize Helm and install the necessary components on your Kubernetes cluster:
$ helm init
4. Verify the Installation:
-
Run the following command to check if Helm has been successfully installed:
$ helm version
-
This command will display the client and server versions of Helm.
For more detailed instructions or troubleshooting specific to your operating system, you can refer to the official Helm documentation:
-
Helm Installation Guide: https://helm.sh/docs/intro/install/
-
Helm Quickstart Guide: https://helm.sh/docs/intro/quickstart/
Getting Started: Creating and Configuring a Helm Chart
To get started with Helm charts, you first need to install Helm. Then, you can create a new chart using the helm create command. This command generates a basic chart structure with a values.yaml file for configurations and a templates directory for Kubernetes resource templates. You can then customize the values.yaml and templates to define your application's deployment, service, and other resources. Finally, you can install the chart using helm install
-
Create a new helm chart
# Command to create a new Helm chart helm create my-chart -
Defines the configurable parameters for your chart on values.yaml
-
Template is a directory contains Kubernetes resource templates that are rendered using the values in
values.yaml -
Deployment: Use the command
helm install <release_name> <chart_path>to deploy your chart -
To upgrade and rollback deployed application
helm upgrade<release_name>.