
Every account should be associated with an account type.
-
On the
AMS
menu, click Financial > Account Management > Account Types.
-
On the Account Types page, click Add. A row is added to the bottom of the page.
-
Enter the following information:
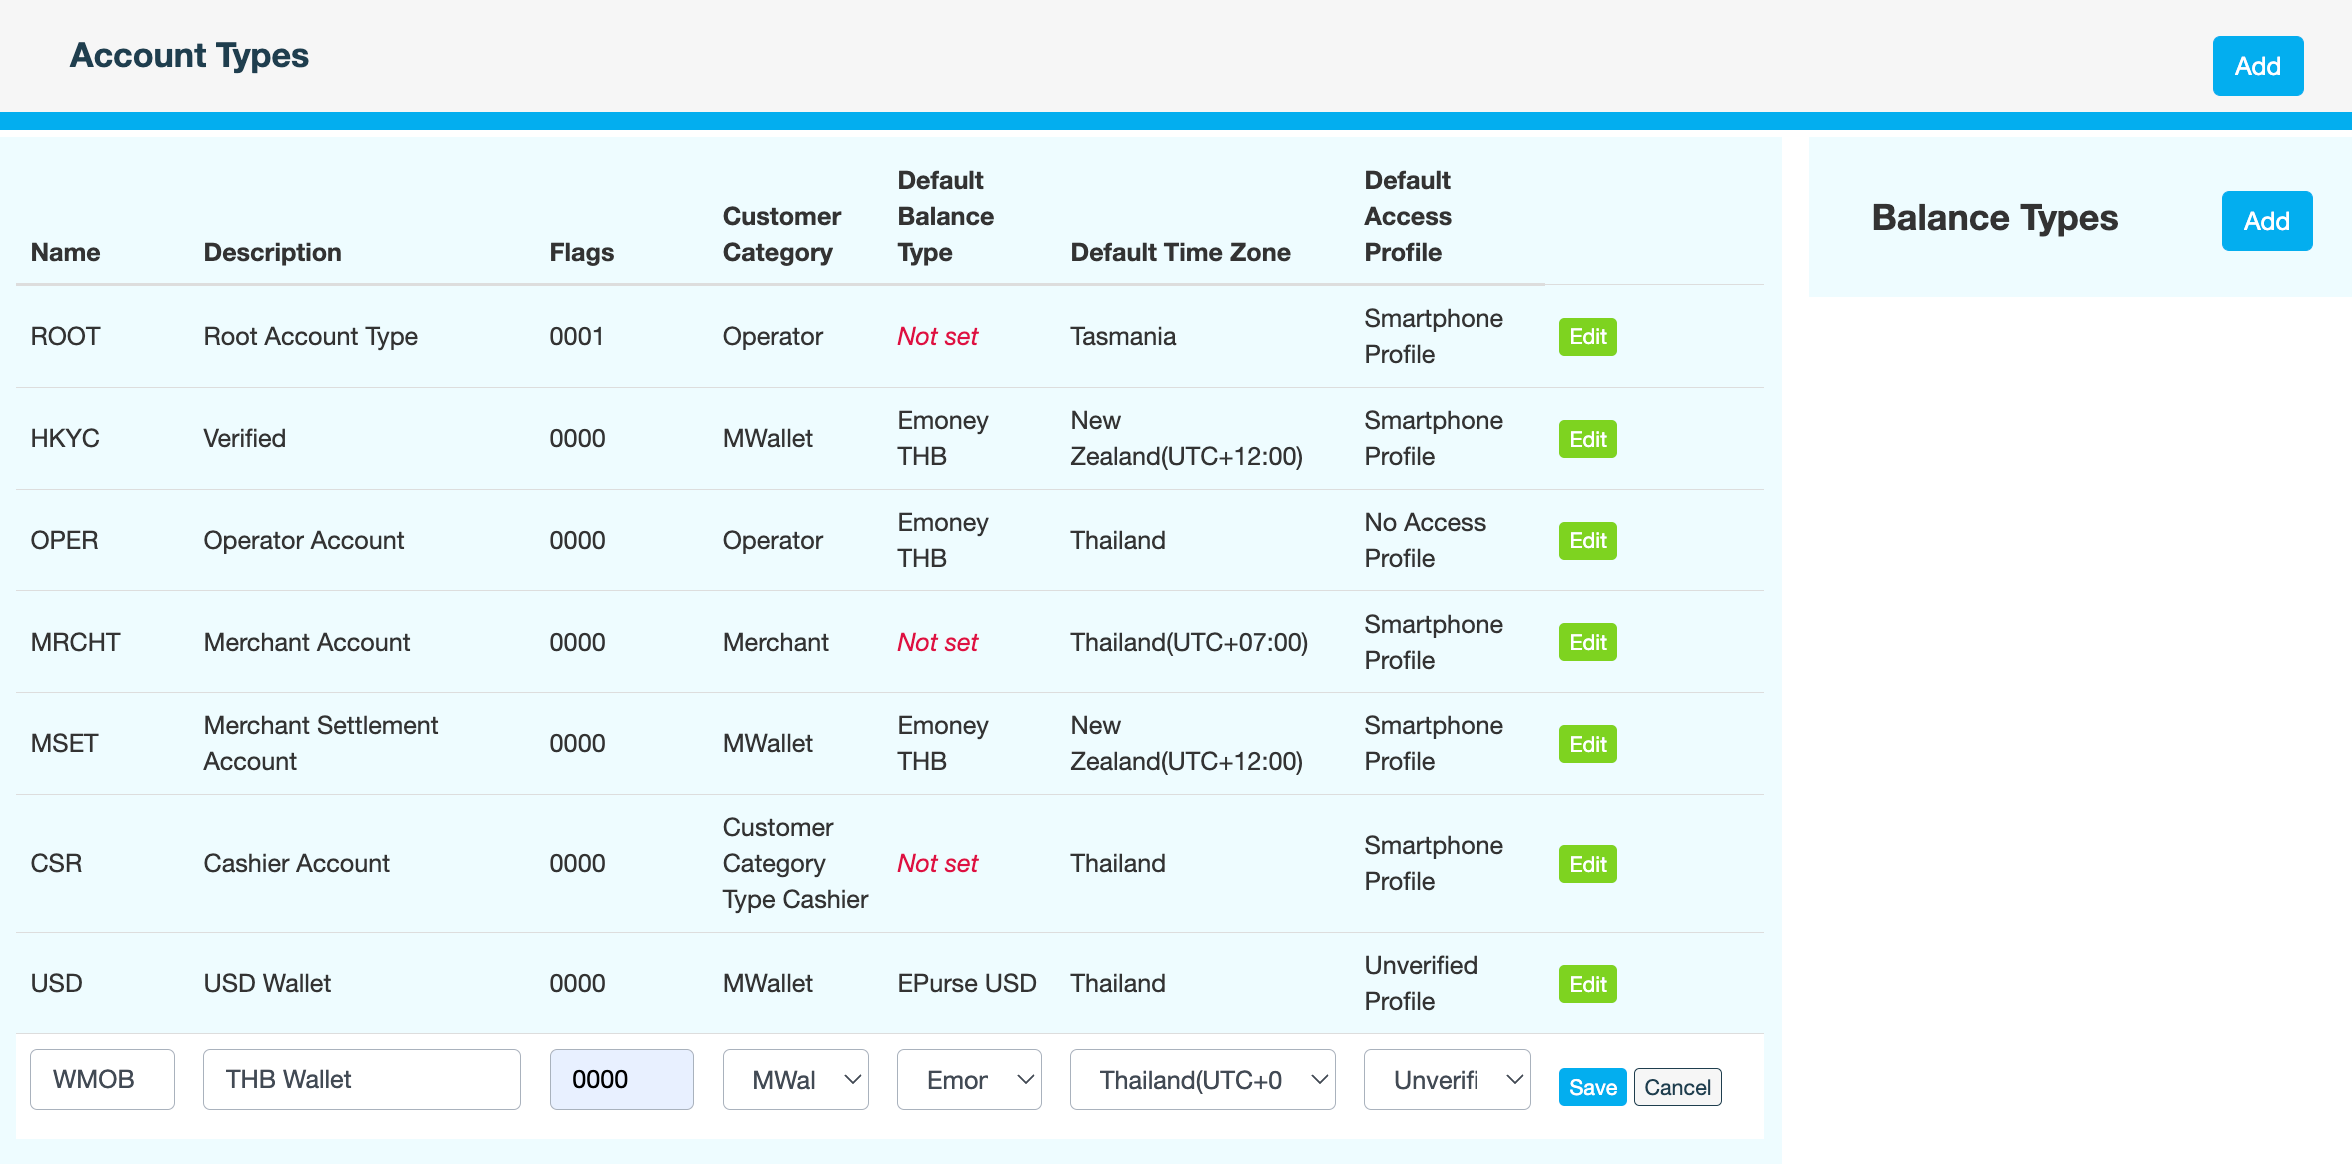
Field
Description
Name
Short code for the account type
If you edit the Name later, don't forget to also update the default.type namespace for this account type in Admin > Configuration > Wallet Configuration to match.
Description
Purpose of the account type
Flags
Hexadecimal value that defines the permissions and functionality for this account type. Enter 0000.
Customer Category
Customer group this account type applies to. For example, Cashier, Merchant, Operator.
Customer categories determine certain behaviours, such as which customers appear in the mobile apps when viewing nearby businesses.
Default Balance Type
Balance type that this account type will use by default. For example, Emoney THB or EPurse USD.
Default Time Zone
Time zone to use when adjusting transaction dates
Default Access Profile
Default access profile assigned to customers with this account type
-
Click Save.
-
Enter a reason for creating the account type, then click CONFIRM.
What's next